Last week I had the pleasure of attending SCaLE 23x in Pasadena, California. I love SCaLE, it’s probably my favorite conference. It’s big, but it still feels so local, and I always walk away having met new, exceptional people, and with the warmth of connection I feel from seeing some of my closest friends in the open source world. The weather is almost always gorgeous around this time of year, and there are a ton of places that are easy to walk to for lunch and dinner. My arrival ritual these days it taking a walk south to the Whole Foods nearby to pick up some breakfast foods and coffees to enjoy each morning before the conference kicks off at 10AM. 10AM! What a glorious time to start!
The flight down from San Francisco was a quick regional flight into Burbank, my go-to airport for this conference so I can avoid LAX. And then I spent Wednesday evening getting settled in and putting some finishing touches on my talk based on some feedback I had requested from some community members working on projects I had an interesting in learning about.
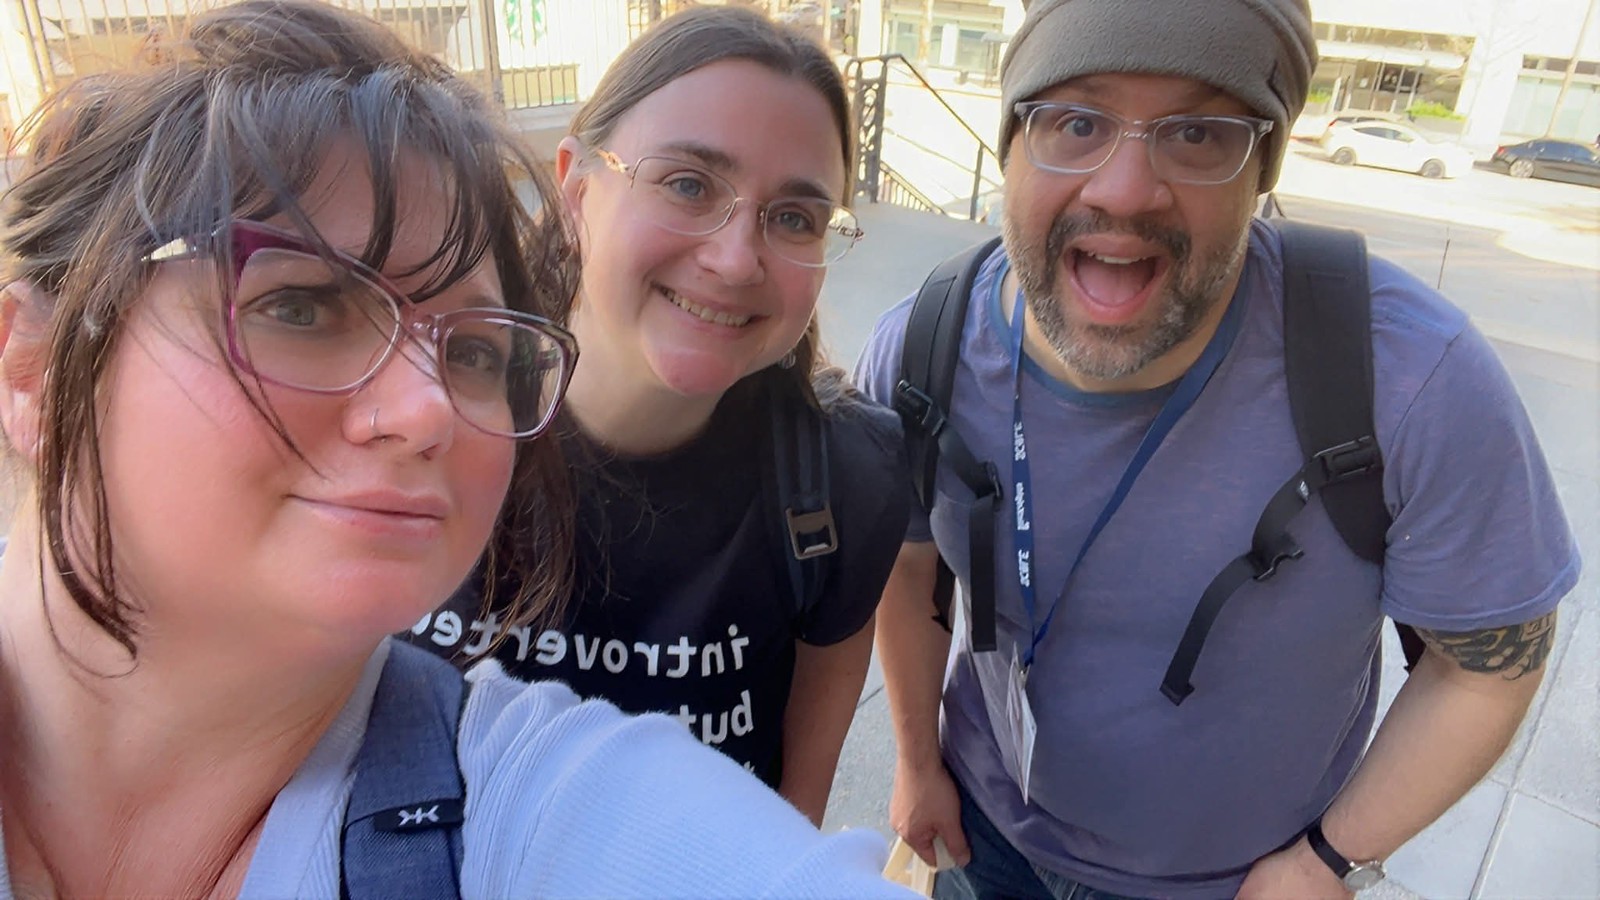
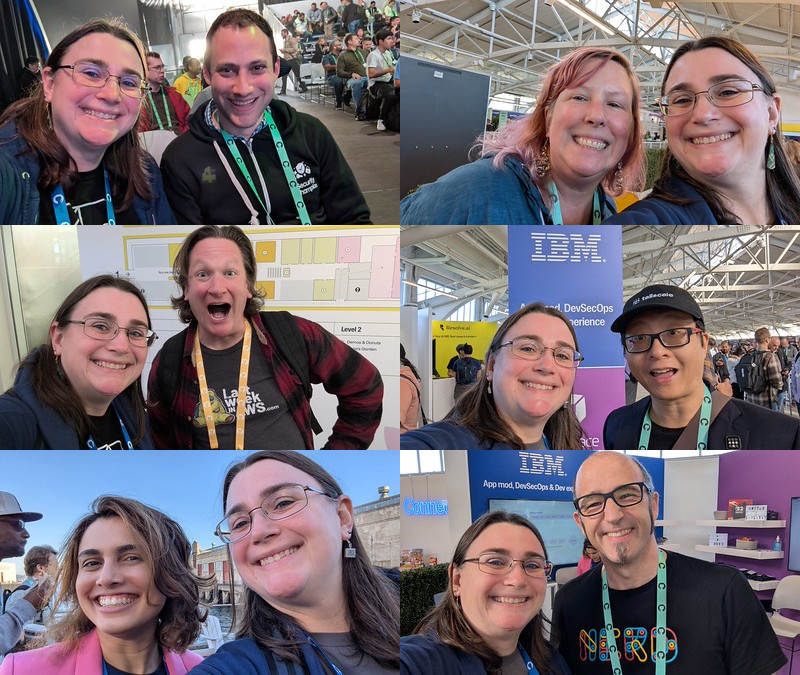
Thursday is when the magic began! I spent the morning picking up my badge and immediately seeing several familiar faces. It didn’t take long to meet up long time friends from our time in the Ubuntu community Jorge and Amber, and we all went out to lunch.
Talk-wise on Thursday I found myself attending several AI talks as part of the Kwaai Summit.
So, AI. We are in the middle of an AI revolution in the tech industry and things are moving fast. A year ago a lot of the AI being used in tech was being marketed as helpers for developers. At SCaLE I heard someone suggest that we treat AI like a junior developer. We’re now replacing junior developers. But I had an experience over the holidays where I was in the trenches with code these “AI junior developers” were spitting out, and it needs a lot of guidance. Without that, the code, documentation, and even commit messages can come out nonsensical and solving things in way that is not “clever”, they legitimately don’t make sense when viewed in the correct context. It also took away the thoughtful collaboration that I love of development: How do we solve this? Can you explain what I’m reviewing? Why did you make this decision? When you’re met with a series of shrugs and a finger pointed at the AI, the job of thinking ends up solely on the person reviewing the change, and that means more experienced developers doing the reviews are being buried in AI slop code.
The technology will get better, and I anticipate an absolute decimation of our industry job-wise. I’m not exempt from this. Plus, there are real environmental concerns about power consumption and resources being used to build out all the data centers to implement these AI solutions, and I worry that it will be painful for our society in a way that may not be ethical. But we aren’t going back, that’s not how technology works in our world.
Add in that so much of this space is flush with more money than the world has ever seen, and decisions driven by greed and a horrifying lack of consideration for humanity seem to winning.
So, why did I run off on this terrifying, negative AI rant? I wanted to share what head space I was in when I walked into SCaLE. I’ve used AI tooling, and I’m constantly learning, but I’m deeply worried about it.
Thankfully, there are still good people doing good things in AI and some of those people were speaking at SCaLE.
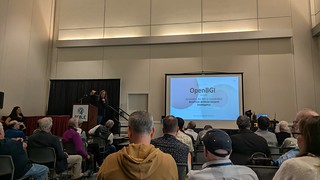
As I strolled into the Kwaai Summit it was refreshing to be reminded of some of the more optimistic views of AI, and how success doesn’t necessarily have to follow the money. AI can be used in ways that benefit us all. There are tedious tasks and “impossible” problems that are starting to be solved by AI. Can I actually get a good handle on a big chunk of open source projects on GitHub supporting s390x? Possibly! Can we finally cure some of the most dangerous forms of cancer? Maybe! And there are people building communities around things like Beneficial General Intelligence (BGI, a play on AGI, the Artificial General Intelligence that tends to be the holy grail of AI) where things like ethics and sustainability are considered. These are my people. These are the people who built the first online social networks and open source projects. This is the messaging that I found so inspiring when I first got into open source software and what made me so fully devote my life’s work to it. It was nice to be there.
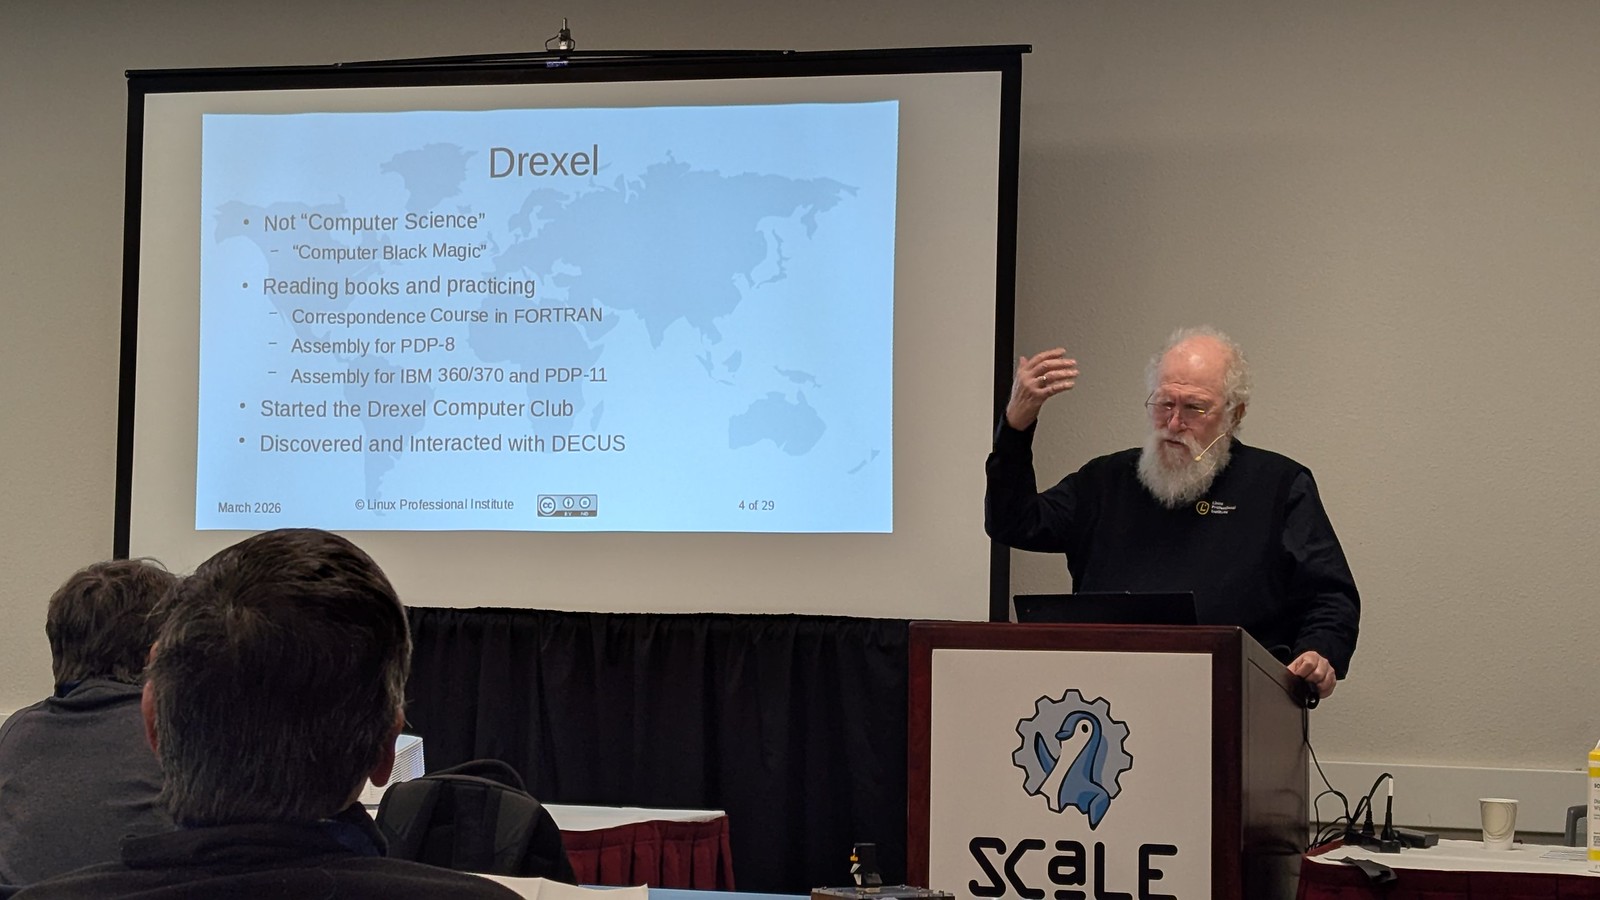
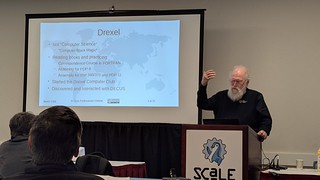
On Friday I attended Guinevere Saenger’s talk on building out developer infrastructures, which brought up a lot of points one might not necessarily think about when doing so. From there I went to Jon “maddog” Hall’s talk on “Open Source In Computer Higher Education – Past, Present and Future” which was definitely a highlight for me. I don’t need to learn how to teach computer science in higher education, but I do love hearing whatever he has to talk about because he has so many wonderful stories. He took us on a tour of this career with an eye toward education, dropping references from everything to the IBM System/360 to learning assembly from difficult text books that he read solo and then went on to teach. He’s a strong proponent for learning topics deeply, and teaching students to learn how to learn so they can thrive in an industry that requires continuous learning. We’re all in agreement there.
That evening I joined a bunch of folks from The Software Freedom Conservancy for dinner and software freedom discussions. It was a lovely evening and I had the pleasure of meeting some new people, including a fellow from Oakland Privacy who told me about the StrayCap Multispace in Hayward that I’ll have to check out some time soon!
I’ve supported the Conservancy for many years, and have known several of their staff for even longer. Need a free software license violation acted upon? This is the group that does that. They get a remarkable amount done with the staff and budget they have, and I’m incredibly grateful for that. Please consider donating.
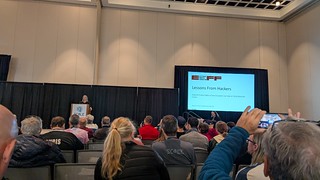
The keynote from Cindy Cohn, Executive Director of the EFF, on Saturday morning was wonderful. I’ve been a supporter of of the EFF for years, and am closely aligned with most of their views. It was fascinating to hear about her work in this space, and the fundamental protections that she’s worked to help pioneering technologists secure over the years. I vaguely knew that encryption was restricted by the US government in the earliest days of the internet, but I didn’t realize it was classified as munitions which ultimately meant that encryption algorithms couldn’t be shared and collaborated on online. Wow. Could you imagine the internet without encryption? Our world? Cindy, with an army of early free software hackers, argued in federal court in San Francisco and for over a decade beyond that to make sure encryption was freed from this classification. This story was the first of three that she dives into in her new book Privacy’s Defender: My Thirty-Year Fight Against Digital Surveillance which I promptly pre-ordered. Her call to action to us hackers today was to stay engaged in this fight so that we show up for all the future legal battles that have the potential to threaten the future of our world and lives with regard to digital freedom. I had the pleasure of running into her later in the conference to thank her for her talk, and I had the presence of mind to pull out a piece of paper to have her sign so I could put it in my book when it arrives; I’ll have a signed copy, kind of! Then I went to the EFF booth to do my annual contribution.
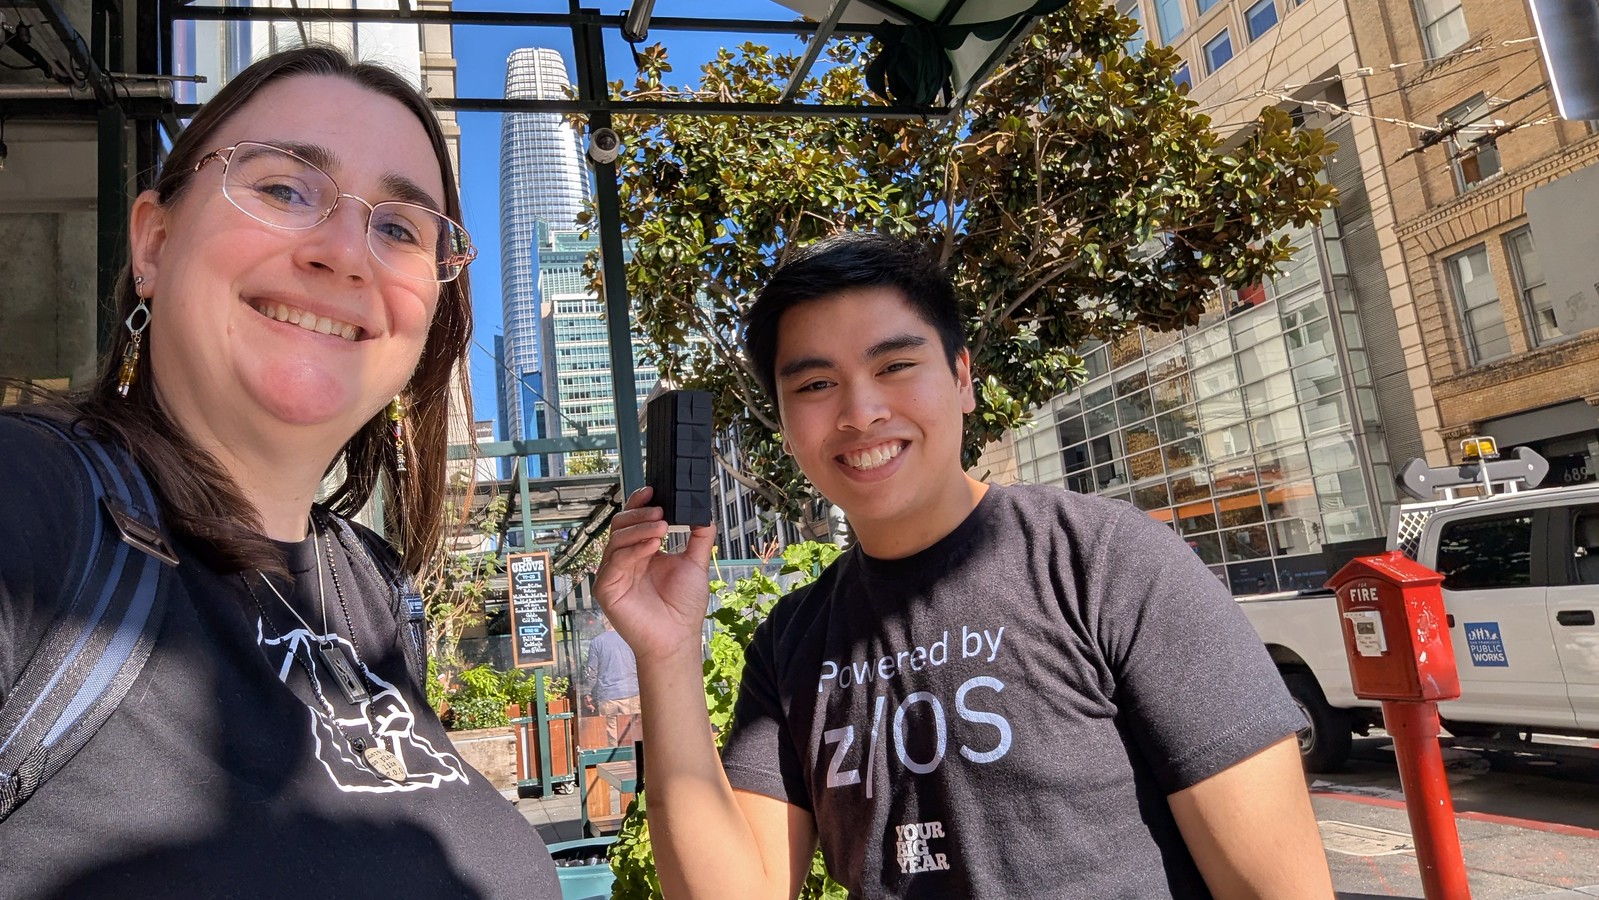
After the keynote I was able to meet up with Kaitlyn Davis, a new colleague at IBM who joined us from HashiCorp and I just started working with a couple weeks ago. She happens to live in southern California! So I made the case for her to come out to SCALE. She has some really helpful ideas around leveraging AI for open source contribution tracking and so we were able to sit down for about an hour and chat about IBM in general and drill down into some of the problems I’ve been focused on to see where she wants to jump in. It’s not every day that I have the pleasure of working with someone like her, so I’m really eager to see what we come up with together in the coming months. See? I’m not negative on all uses of AI.
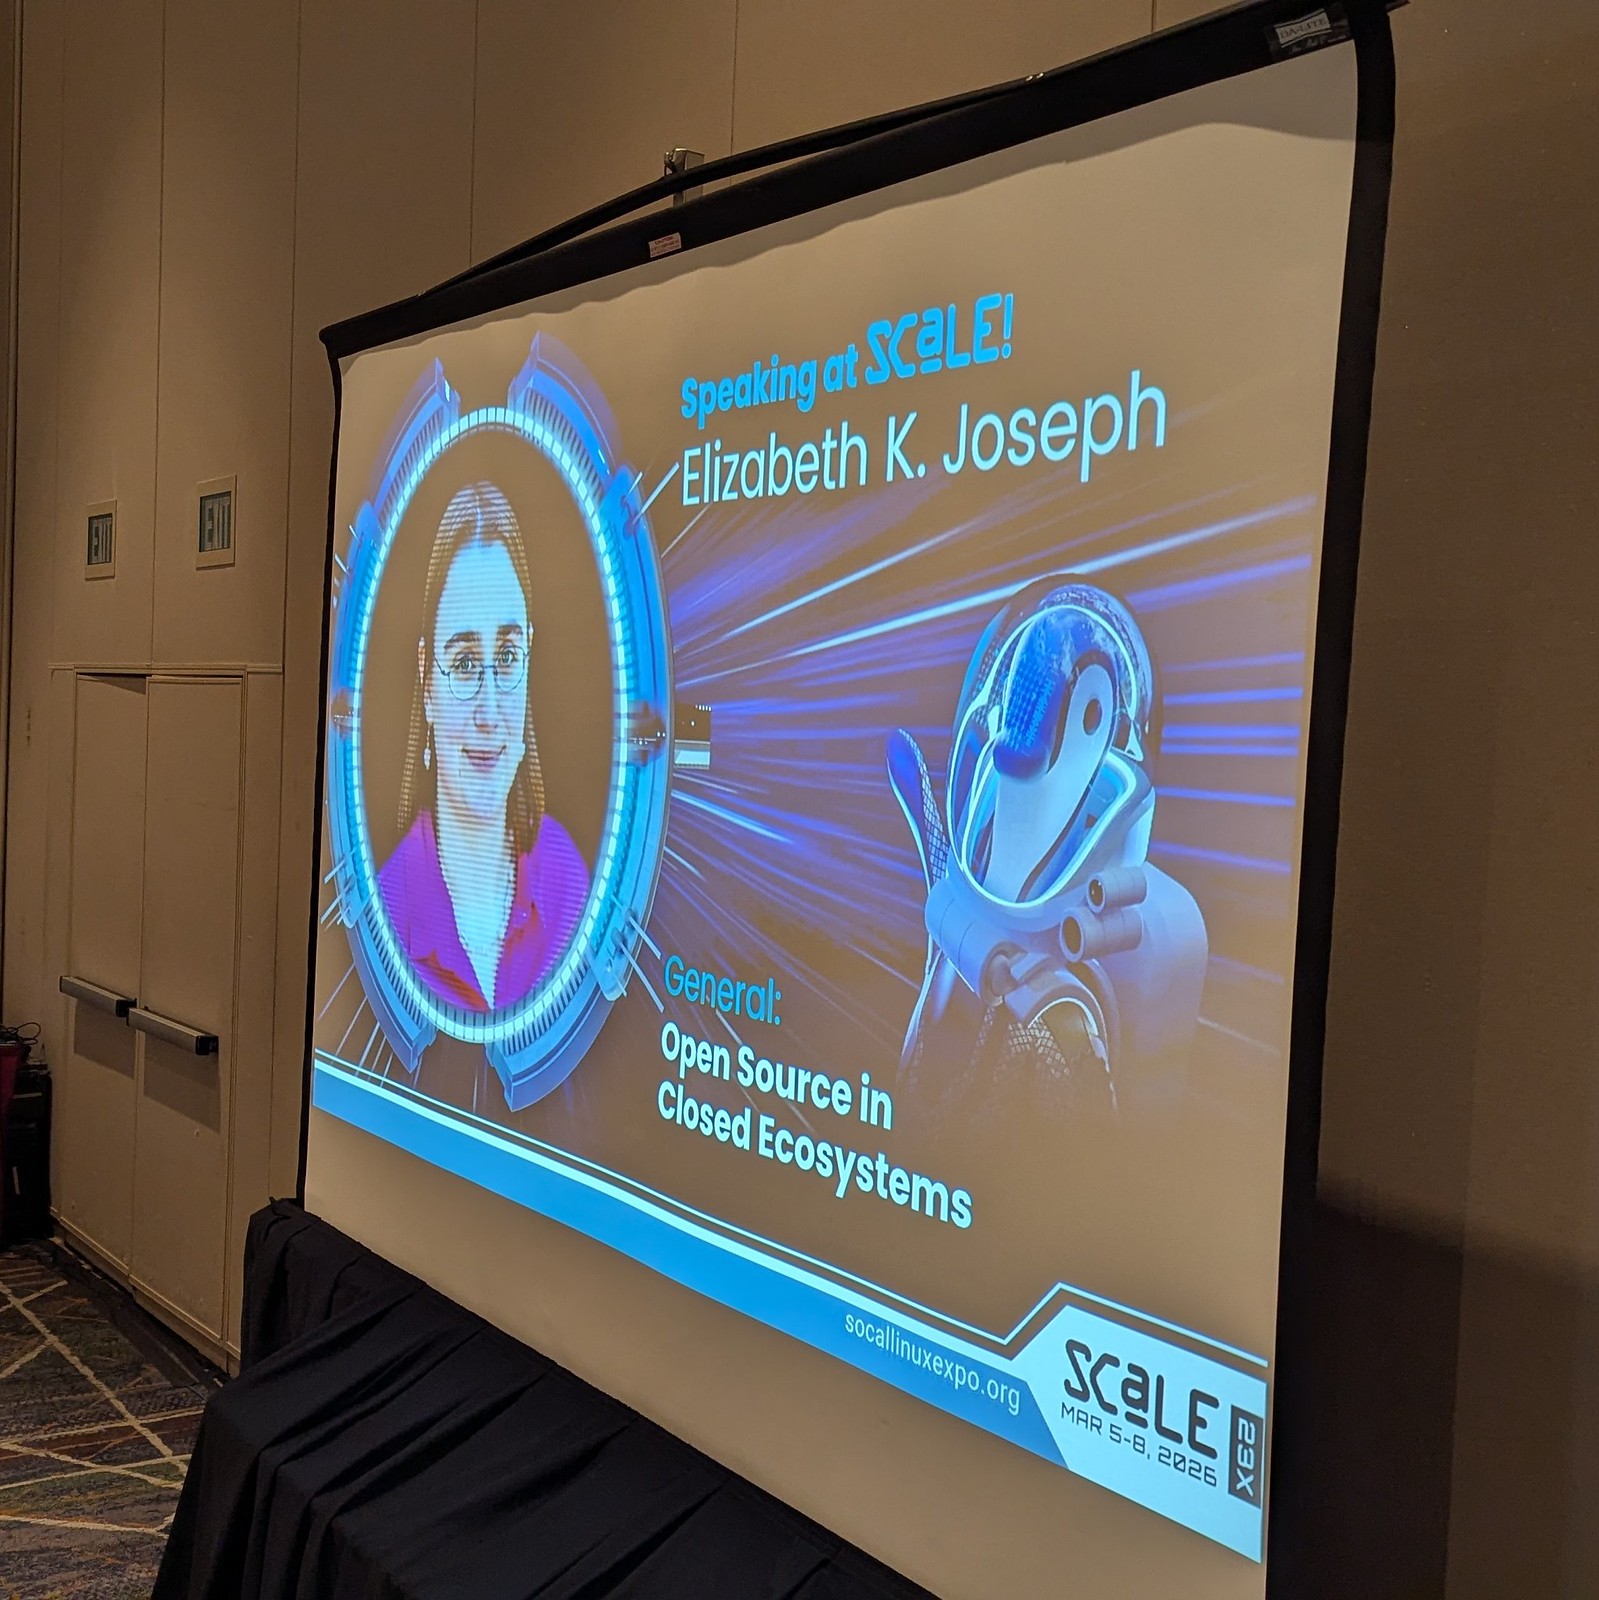
From there, it was time for my talk on Open Source in Closed Ecosystems. Originally I was planning on just drawing from my experience in the mainframe world, but after a chat with John Mertic of The Open Mainframe Project I was convinced to draw from a broader pool of expertise and to look into Automotive and Motion Picture industry use cases. I was fortunate that Alison Chaiken of Automotive Grade Linux (AGL) and Emily Olin who has worked on both AGL and the Academy Software Foundation (ASWF) were able to get back to me quickly regarding questions I had about the initiatives. I was also thankful to get time with Nithya Ruff whose expertise in running open source software programs across the industry has been incredibly valuable to my own work, and the broader community through her extensive work in the community of the years, and direct contributions to the TODO Group.
The talk had some rough edges flow-wise, and I’d like to flesh it out with more examples and talk to more people in industries where open source hasn’t taken a firm hold yet to see what barriers they’re encountering in their organizations. But I had some great conversations after my talk and I think it generally went well. Slides from the talk are available here: /presentations/2026/Open_Source_in_Closed_Ecosystems_-_SCALE_23x.pdf (1.3M pdf)
It was nice to run into Dave Neary, whose Open Source in Business series on YouTube got me some clues I need for my talk too. He gave a couple multiarch talks, and though they were focused on ARM64 it was still nice to hear someone talk about multiarch manifests and containers, since I bump into some confusion from community members about them. He gave some nice demos using Argo CD and Argo Rollouts that I’d like to take a closer look at.
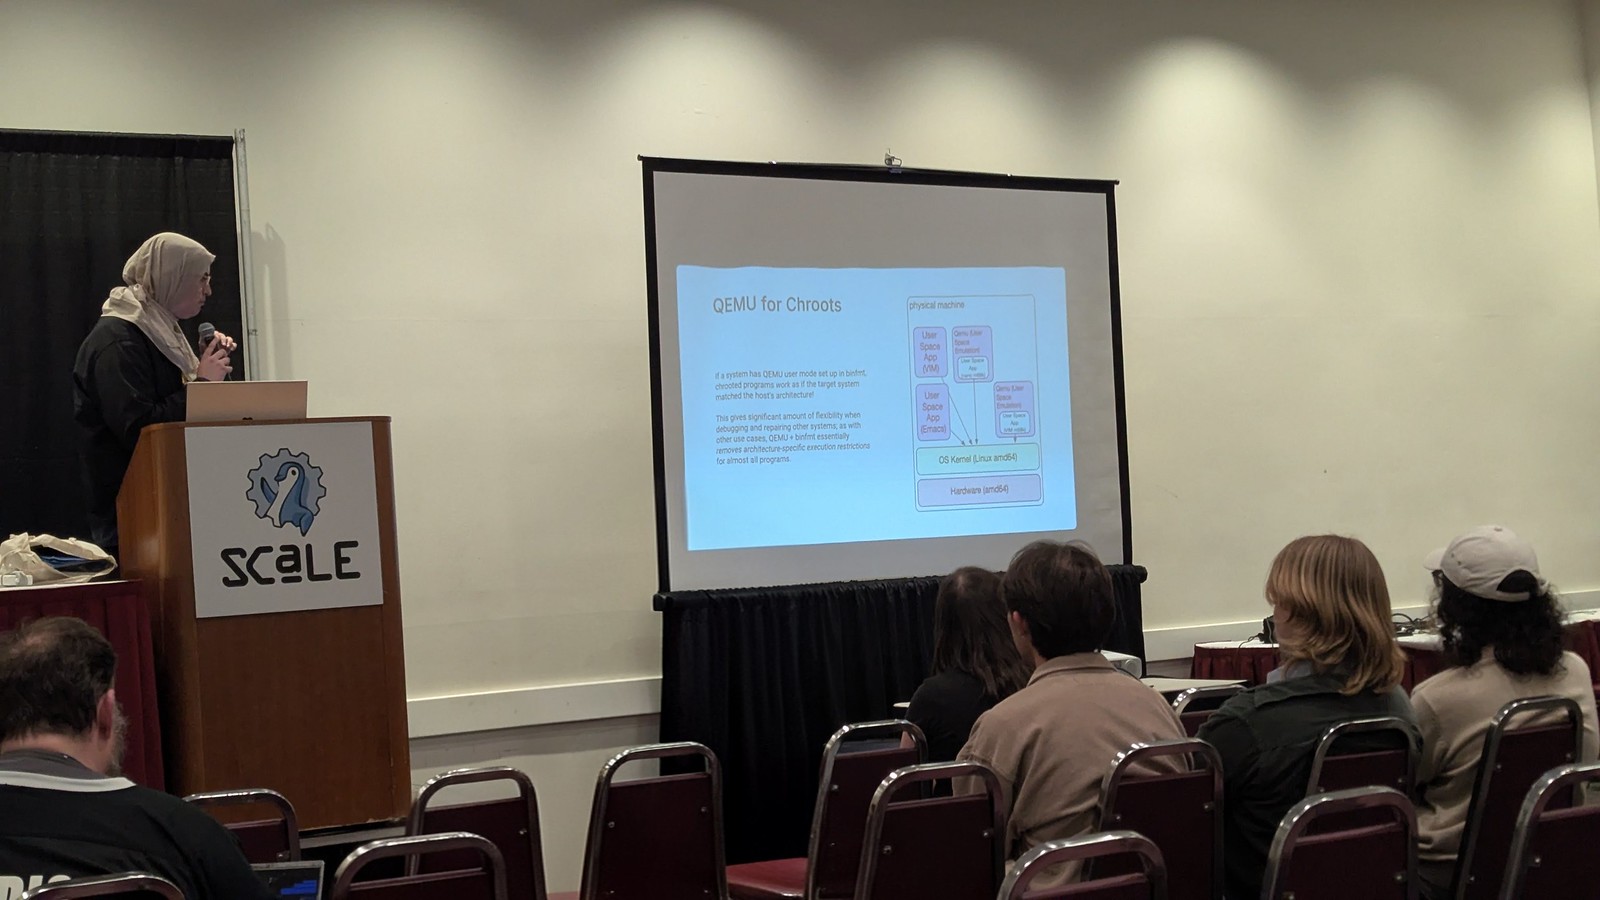
Speaking of multiarch, I then enjoyed a talk by Amy Parker whose talk focused on QEMU user mode. I’ve used QEMU on and off over the years, but honestly since I’ve shifted my focus to bare metal testing, I’ve used it a lot less. I don’t have a lot of experience with the user mode emulation that she covered, which made the talk a fascinating dive through binfmt_misc, ld_preload, and chroots to accomplish a lot of interesting work across architectures. She also talked about using FatELF to create universal binaries, which wasn’t even on my radar. So many fun things to dig into!
Saturday evening I had the pleasure of joining Nathan Handler for dinner at a sushi place nearby. I’ve now had my first sake bomb. But just one!
Happy Sunday! The opening keynote was presented by Mark Russinovich of Microsoft, who, poor guy, spent the first 15 minutes of his talk convincing us that in spite of being known for Windows Internals, both he and Microsoft have a lot of Linux credibility. With that taken care of, he dove straight into a great tour of open source security solutions and how they relate to the growing interest in secure supply chains today. I was happy to see the security components of my own talk from the previous day reiterated, but more broadly, I’m glad SCaLE brought someone in to talk about all of this. Open source has made tremendous strides in recent years related to security, but it doesn’t get as much attention as I believe it deserves, both in terms of usage and awareness, and having more people to work on it, and its importance is only increasing.
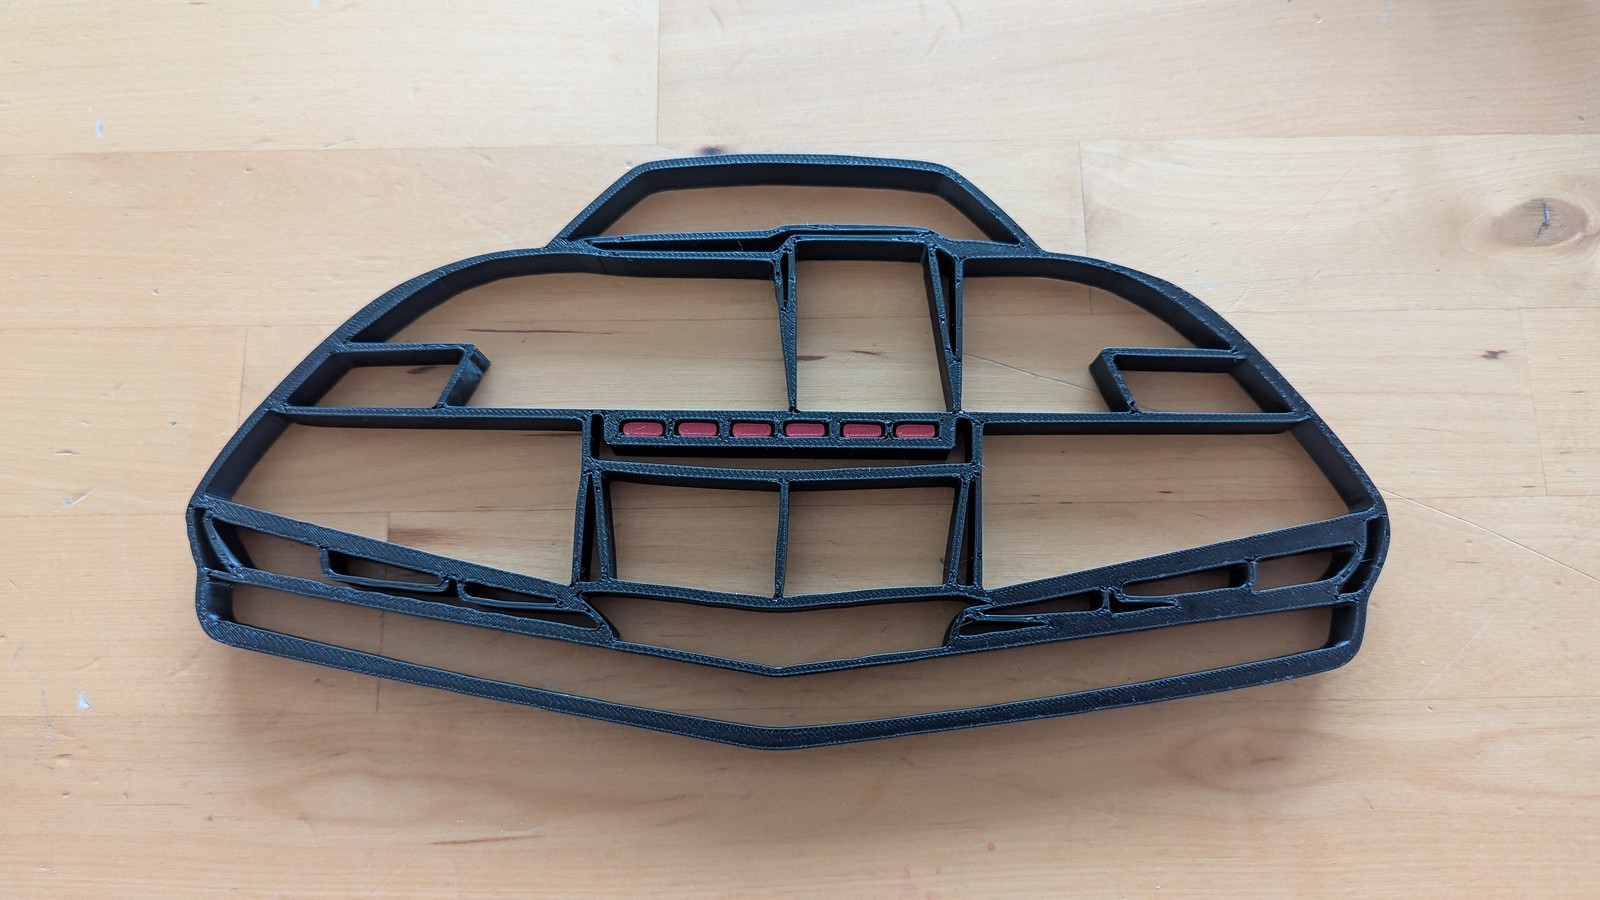
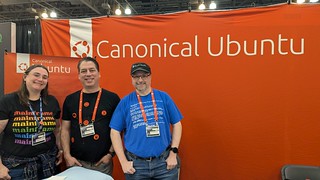
The expo hall at SCaLE is always a delightful place to walk through, and this year was no exception. They have a wonderful mix of big, paid booth areas for larger companies, and smaller booths for non-profits, so it always brings a great assortment of people. I had a lovely time catching up with my friends from the Ubuntu community. It’s always a pleasure to catch up with Nathan Haines and George Mulak who’ve been quite involved in the Los Angeles computing scene for years. It was nice to get some time to chat with Erich Eickmeyer, lead for Ubuntu Studio, and I was pleased to learn that his wife, Amy Eickmeyer, is a professional educator and actually got the Edubuntu flavor off the ground again back in 2022! I had planned on a DIY lockdown of Ubuntu for our kids this year, but I’ll have to take a look at Edubuntu now.
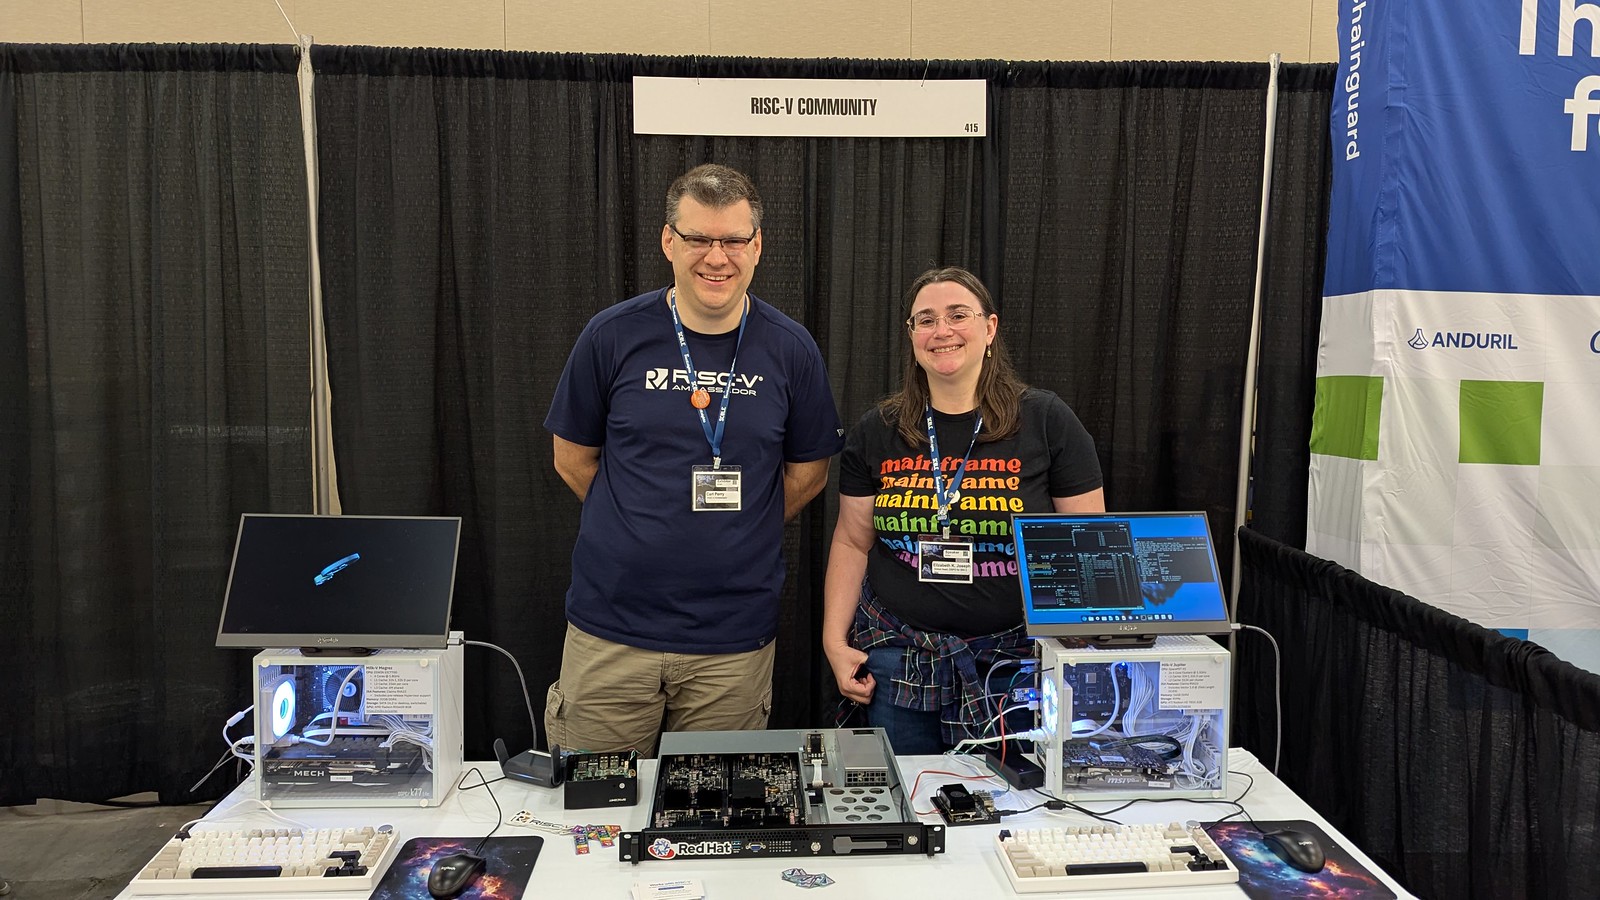
And the RISC-V booth was on my list too, as I’m always eager to learn the latest (you know me and architectures!). That’s where I met a fellow IBMer who was involved with the Works with RISC-V community which I didn’t even know existed. Cool. I was able to ask about HDMI support on my VisionFive 2 and learn that there should be mainline kernel support soon, and learned that people are saying good things about the latest RISC-V mainboard for the Framework laptop. My kids like to remind me I have a lot of laptops, so I’ve held off on Framework for now, but I’ll have to take a closer look at this one.

I also went to a talk by Brendan O’Leary on From COBOL to Claude: What Hopper Knew (actually, his slides swapped “Claude” for “Cursor” (the AI coding environment). Things in AI move fast). I enjoyed this talk and his premise, given all I’ve said above about the inevitability of AI in our industry. He began by talking about Rear Admiral Grace Hopper’s desire to make “programming” computers a more human-language driven endeavor, and how that began with her FLOW-MATIC and ultimately COBOL, which is still widely used today. His belief is that she’d be happy that anyone today can vibe code their own application, and made the same comparison I tend to do with evolution of coding. AI does have very, very important things that differentiate it from the previous major evolutionary steps of computer programming, but I just don’t believe that things like being nondeterministic are enough to so forcefully push back on it. Most of this talk continued by talking about how software engineering practices that professionals are using will simply need to be adjusted to have a lot more planning and a lot less hands-on coding, and with these research, plan, and implement frameworks in place we’ll be able to trust the results AI comes up with a lot more. I think he’s right.
The conference concluded with a walk down network memory lane with Professor Douglas Comer. I love computer history, so I was familiar with a lot of the general touch points he discussed, but since his focus was on networking there were a few things I’ve missed along the way. He talked about magentic tape mailers, how Endianness caused problem with computers communicating in the early days, and how a technology like TCP/IP or even the client/server model were not obvious. His stories around how phone companies charge for transit and the sorted path to get households connected to internet was really insightful, especially when paired with the observations from Cindy Cohn the day before.
Huge thanks to all the volunteers who makes SCaLE happen, I’m really happy I could make it down this year, and after seeing how many kids where there, I’m going to make plans to at least bring our eldest down for the weekend next year.